Activating Your Account
This guide walks you through what happens after you complete the Click2Call signup form and how to access your portal for the first time.
Sign up for a free trial
Visit portal.click2call.com.au/join and complete the signup form. You will need to provide your name, email address, and a password. No credit card is required to start your 7-day free trial.
After submitting the form, check your inbox for a confirmation email from Click2Call. Click the verification link to activate your account before logging in.
Log in to your portal
Go to portal.click2call.com.au and enter your email address and password, then click Log in.
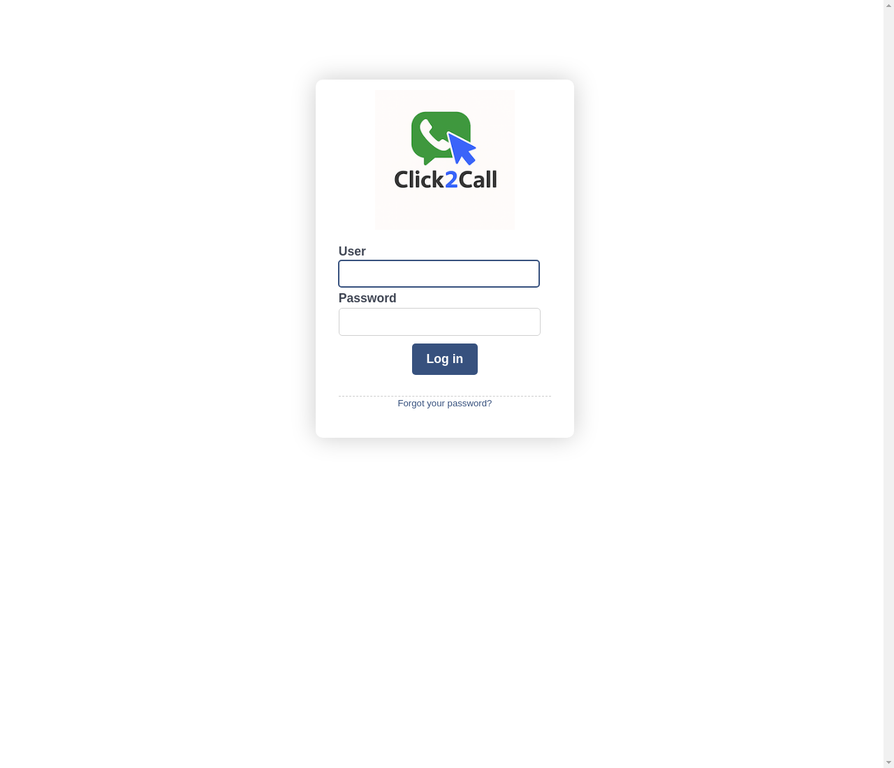
The Click2Call portal login screen
Review your Account Summary
After logging in you will land on the Account Summary page. This shows your account name, account number, next billing date, current balance, and your active phone services. During your free trial, your Cloud PBX plan will be listed here.
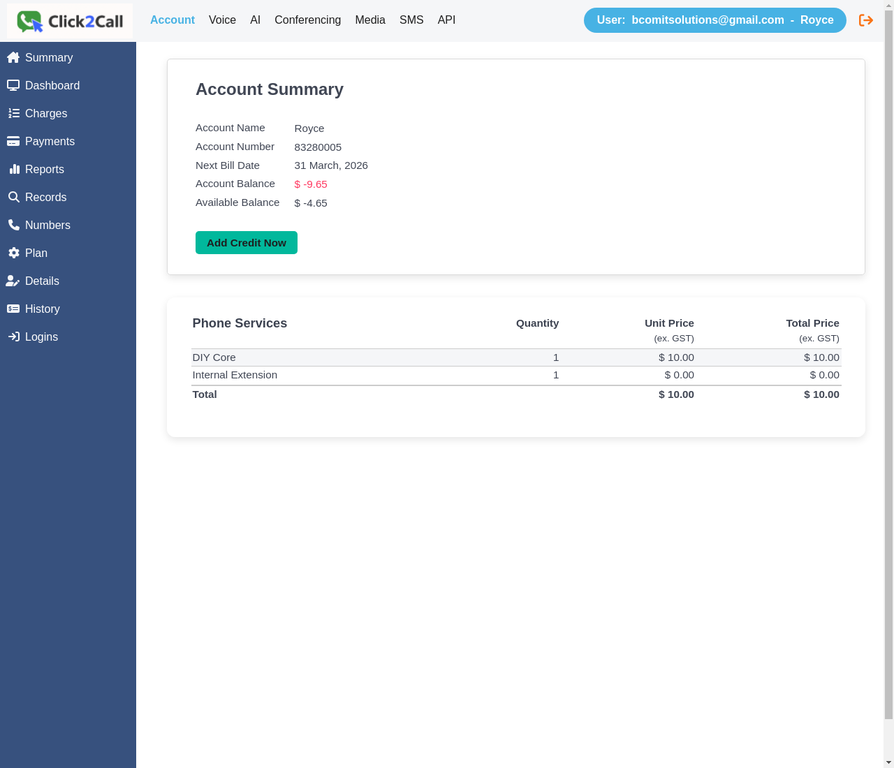
The Account Summary page — your starting point after login
Update your account details
Click Details in the left sidebar to open the Account Details page. Fill in your personal details, service address, and contact information. This information is used for billing and support. Click Update Details to save your changes.
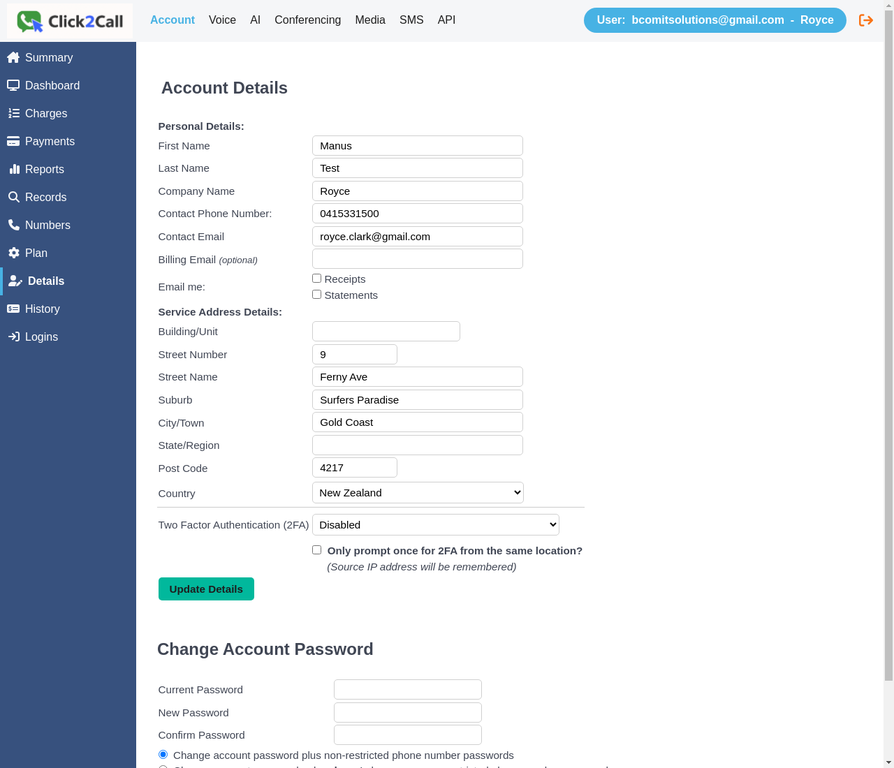
The Account Details page — update your contact and billing information here
We recommend enabling Two Factor Authentication (2FA) on this page to keep your account secure. You can choose to be prompted once per location for convenience.
Review your plan and channels
Click Plan in the left sidebar to view your current plan details. You will see your active services, included channels, and any line plans assigned to your numbers. Your account starts with 2 free channels (simultaneous call lines) by default.
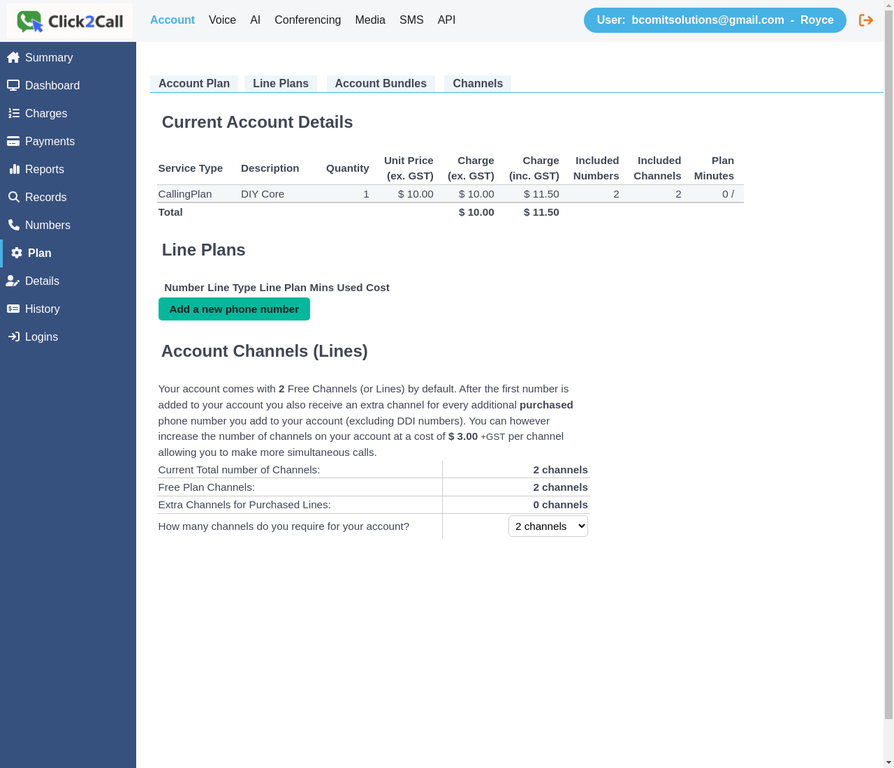
The Account Plan page — view your services, channels, and line plans
Start adding your phone services
Click Voice in the top navigation bar to go to the Voice Numbers page. From here you can add phone numbers, create extensions for your team, and provision desk phones and softphones. Use the buttons at the top — Add Phone Number, Add Extension, and Add Channels — to get started.
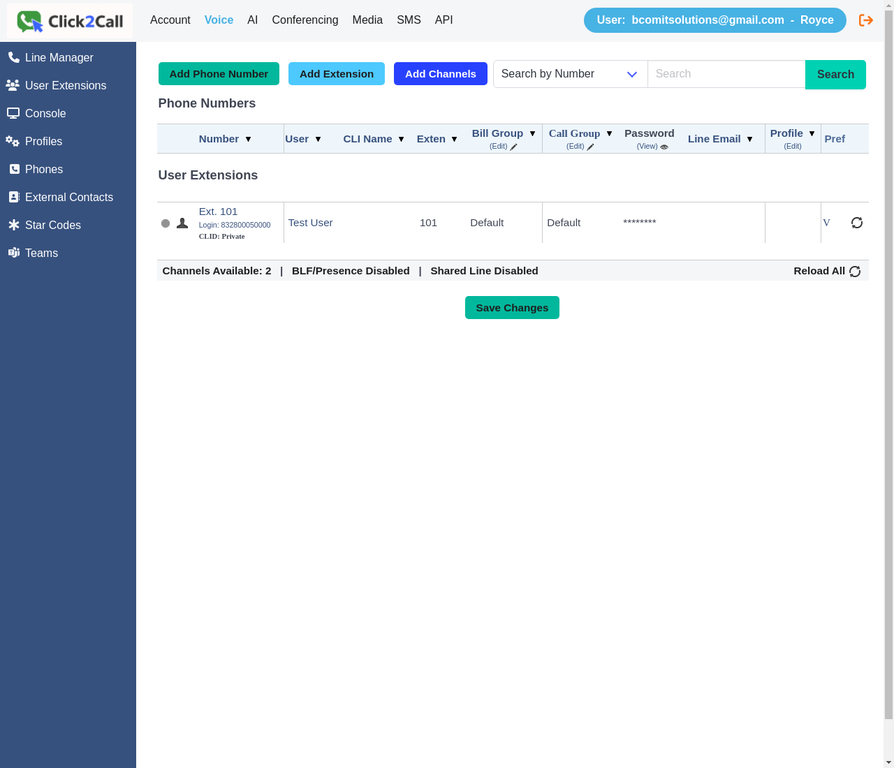
The Voice Numbers page — your hub for managing extensions and phone numbers
Your account is now active and ready to use. Follow the guides below to add your first phone number, set up extensions for your team, and configure your call flows.
Related Guides
Still need help?
Our Australian support team is available to assist you.