Adding & Provisioning a Desk Phone
This guide covers two methods for connecting a physical desk phone to your Click2Call account. If you have a Yealink phone, follow the Auto Provisioning steps below for the fastest setup. For all other brands, skip to the Manual SIP Setup section.
Option 1 — Yealink Auto Provisioning
Recommended for Yealink phones — fastest setup method
Click2Call has a fully automated Yealink device provisioning process to take the hard work out of configuring these phones. Follow the steps below to get your Yealink phone registered and ready to use in minutes.
Unbox and assemble the phone
When opening your Yealink phone box, you will find the main phone unit, one handset cord, one handset, one phone stand, and one Ethernet cable. Flip the phone over and attach the stand to the back slots above the cable ports. Connect the larger end of the handset cord into the port marked with a phone icon on the unit, and the smaller end into the handset.

Connect to your network and power on
Plug one end of the Ethernet cable into the port labelled Internet on the back of the phone, and the other end into your internet modem or router. Once connected, the phone will power on and display a welcome message on screen.
Add the phone in the Click2Call portal
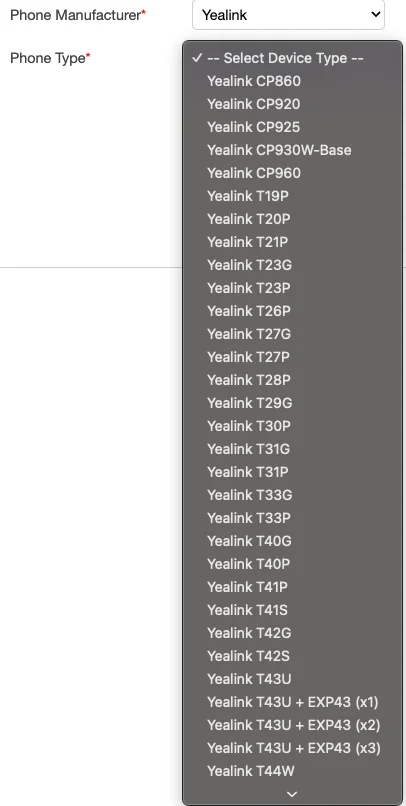
Log in to your Click2Call account and navigate to Voice > Phones. Click Add New Phone and fill in the following details:
- Phone model: select your Yealink model from the drop-down menu
- MAC address: found on the sticker on the back of the phone
- Description: a label to identify this phone line (e.g. Reception, Sales)
- VLAN ID: optional — only required if your network uses VLANs
- Web admin password: set a password for the phone's web interface. If left blank, the default will be admin (admin) and user (user)
- Accounts: assign a phone number from the drop-down. If your Yealink model has multiple line keys, you can also configure speed dials, voicemail buttons, pickup, and transfer keys on the spare keys
Once complete, click Add New Phone to save.
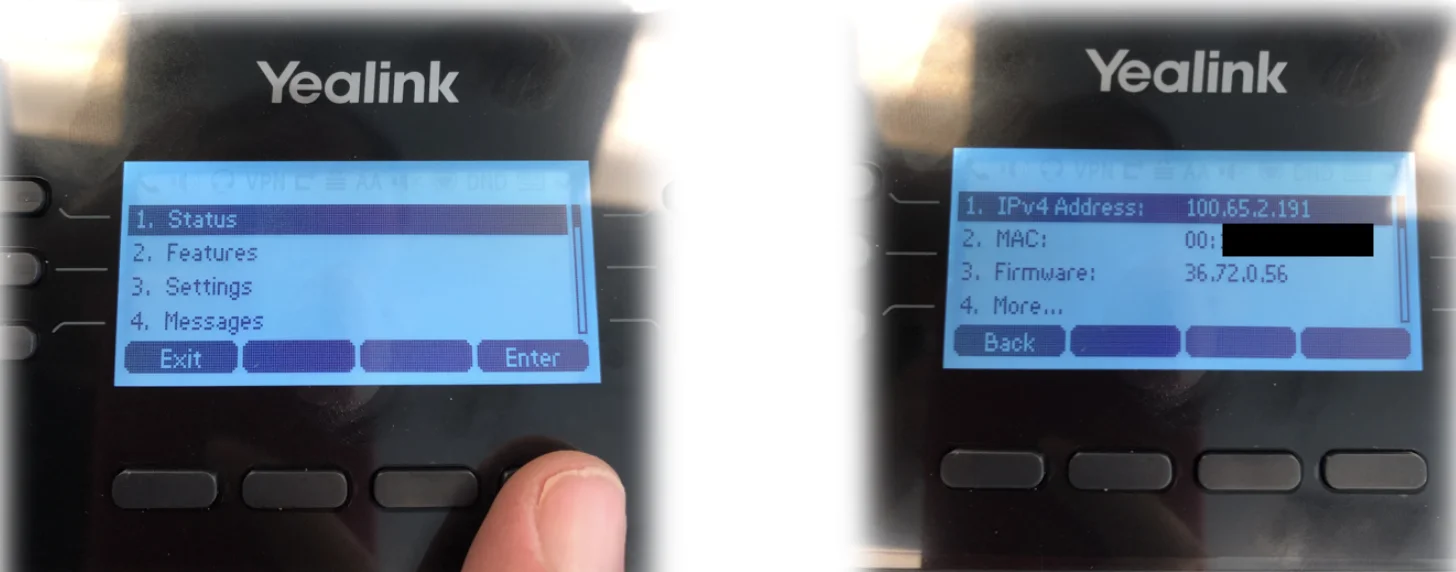
Find the phone's IP address
On the Yealink phone, press Menu and then select Status. The field labelled IPv4 Address shows the phone's current IP address on your network. Note this down — you will need it in the next step.
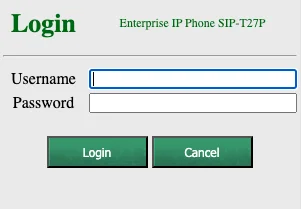
Log in to the phone's web interface
Open a web browser on a computer connected to the same network and type the phone's IP address into the address bar (e.g. http://192.168.1.100). You will be redirected to the Yealink login page. Enter admin for both the username and password fields.
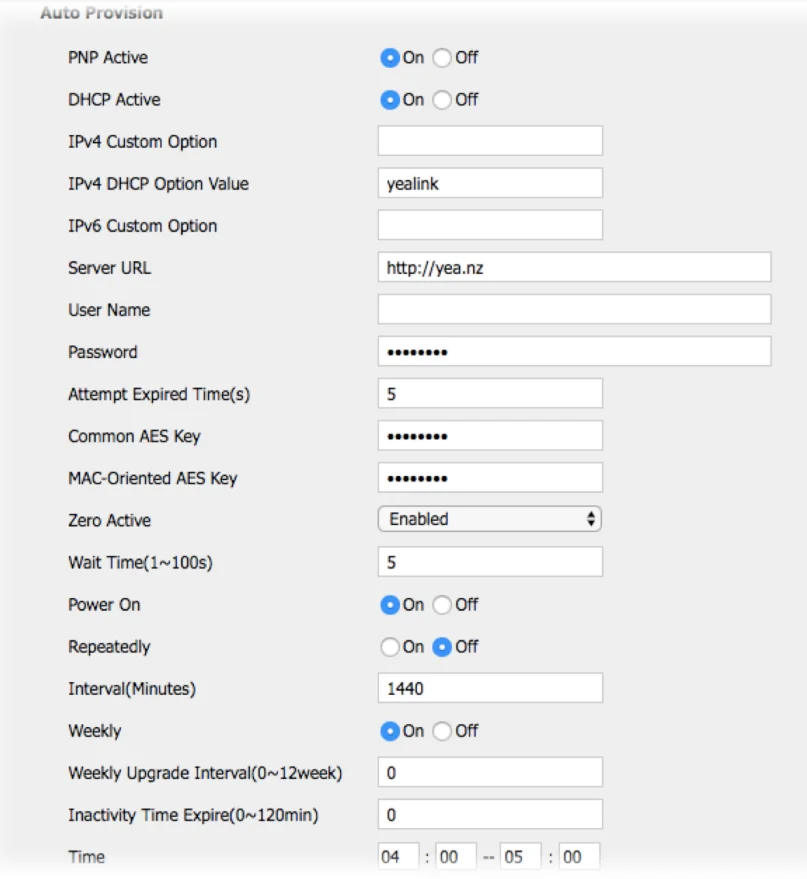
Trigger Auto Provisioning
Once logged in, go to the Settings tab and select Auto Provision. In the Server URL field, enter:
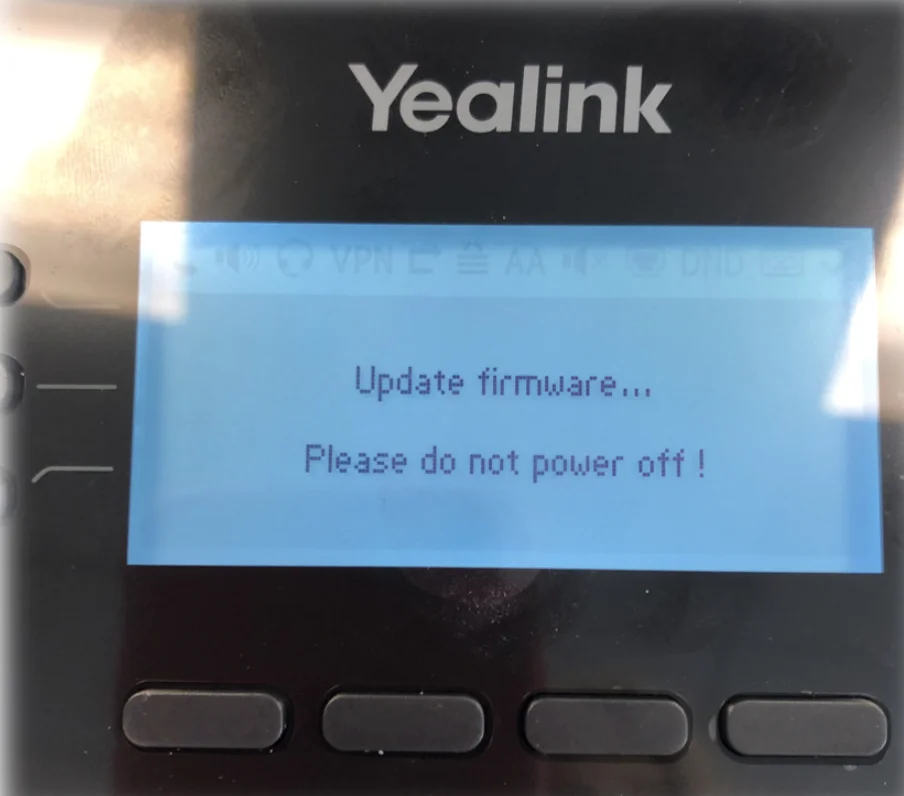
Press Confirm at the bottom of the page. Once the page reloads, press Auto Provision Now. The phone screen will begin the auto-provisioning process. If a firmware upgrade is required, the phone will display a firmware update message.
Wait for provisioning to complete
The provisioning process may take up to five minutes. The phone may reboot several times during this period — this is normal. Do not power off the phone during this process. Once finished, your Yealink handset will be ready to use. If you need to make any changes in future, update your settings in the Click2Call portal and reboot the phone to download the new configuration.
Option 2 — Manual SIP Setup
For Fanvil, Grandstream, Cisco, Polycom, and all other SIP-compatible phones
SIP Credentials Reference
Enter these values exactly as shown into your phone's SIP account settings.
| Username / Login / User ID | Your Click2Call phone number including country code e.g. 61234567890 |
| Authorisation Name / Display Name | Your Click2Call phone number including country code e.g. 61234567890 |
| Password | Your Click2Call password (assigned at signup) |
| Host / Proxy / Domain | sip.click2call.com.au |
| Outbound Proxy | sip.click2call.com.au |
| SIP Transport | UDP, TCP, or TLS — TLS preferred |
| SIP Port | 5060 or 50600 (UDP/TCP) • 5061 (TLS) |
| DTMF Mode | RFC 2833 (also listed as AVT or Out-of-Band) |
| STUN Server | Not required |
Connect the phone to your network
Plug the desk phone into your network using an Ethernet cable. If your switch supports PoE (Power over Ethernet), the phone will power on automatically. Otherwise, connect the included power adapter. Wait for the phone to fully boot before proceeding.
Screenshot placeholder — Step 1
Access the phone's web interface
Find the phone's IP address — this is usually displayed on the phone screen under Menu > Status > Network. Open a web browser on a computer on the same network and navigate to that IP address (e.g. http://192.168.1.100). Log in with the phone's admin credentials (default is often admin / admin — check your phone's manual if this does not work).
Screenshot placeholder — Step 2
Enter your SIP account settings
Navigate to the Account or SIP Account section in the phone's web interface. Enter the values from the SIP Credentials Reference table above. The field names vary by brand, but the mapping is consistent:
- Username / User ID / Account Name: your phone number including country code (e.g. 61234567890)
- Authorisation Name / Auth ID: same as username — your phone number including country code
- Password: your Click2Call password assigned at signup
- SIP Server / Host / Domain / Proxy: sip.click2call.com.au
- Outbound Proxy: sip.click2call.com.au
- SIP Port: 5060 or 50600 (UDP/TCP), or 5061 (TLS)
- DTMF Mode: RFC 2833 (also shown as AVT or Out-of-Band)
- STUN: leave blank or disabled — not required
Screenshot placeholder — Step 3
Configure audio codecs
In the codec or audio settings section, enable the following codecs in order of preference. Disable any codecs not listed below to ensure the best call quality.
| Type | Supported Codecs |
|---|---|
| Voice (Audio) | G.711 alaw • G.711 ulaw • G.722 • G.729a |
| Video | H.264 • H.263 |
Important: Set the media packet time (ptime) to 20ms. A ptime of 10ms is not supported and will cause audio issues.
Save settings and confirm registration
Save the account settings. The phone will reboot and attempt to register with the Click2Call network. A successful registration is confirmed by a green line key light, a Registered status on the phone screen, or a dial tone when you pick up the handset. This typically takes 30–60 seconds after saving.
Screenshot placeholder — Step 5
Test a call
Dial another extension on your system or call your own number from a mobile to confirm the phone is working correctly. Check that audio is clear in both directions. If the phone fails to register, see the Firewall Rules section below and verify your credentials are entered exactly as shown.
Screenshot placeholder — Step 6
Firewall Rules
If your phone sits behind a business firewall or router, allow the following traffic to ensure SIP registration and audio work correctly.
| Direction | Protocol | Port / Range | Purpose |
|---|---|---|---|
| Allow all traffic from | UDP | 1024 – 50000 | RTP media (voice audio) |
| Allow all traffic from | TCP | 5060 | SIP signalling (TCP) |
| Allow all traffic from | TCP | 5061 | SIP signalling (TLS) |
Apply these rules for traffic from subnet 52.63.154.234. No STUN server is required.
Still need help?
Our Australian support team is available to assist you.