Setting Up the AI Receptionist
Not an AI voice agent. The AI Receptionist is an automated call routing tool — similar to a traditional auto attendant (press 1 for Sales, press 2 for Support), but instead of pressing numbers, callers simply say what they need. The AI matches what the caller says to the department descriptions you configure, then transfers the call to the right number or extension. A real person answers the call. The AI Receptionist does not hold a conversation, answer questions, or act as a virtual agent. If you are looking for an AI voice agent, view the AI Agents help guide.
The AI Receptionist answers incoming calls automatically, plays a welcome greeting, listens to the caller's request, and routes the call to the correct department or person. This guide shows you how to set it up.
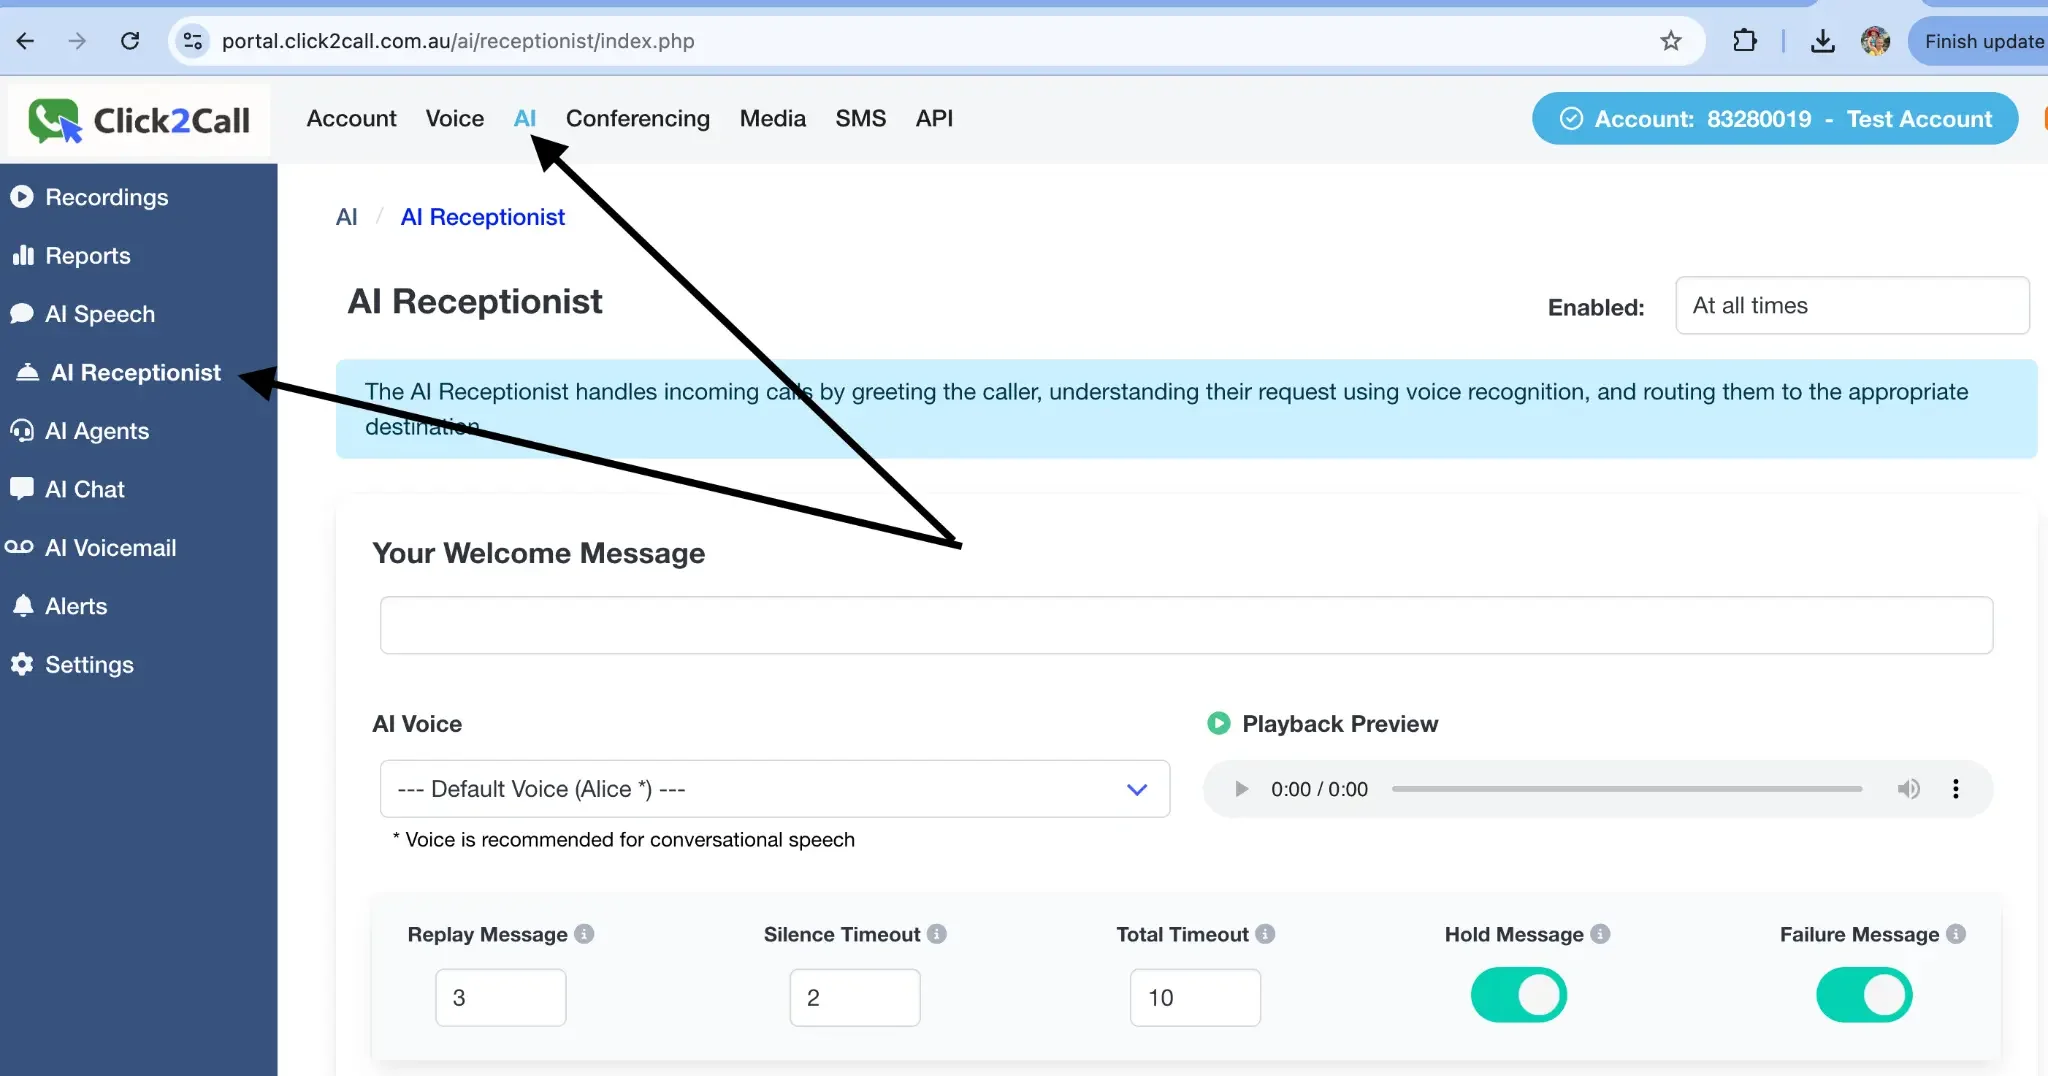
Navigate to AI Receptionist
In the main portal navigation, click AI, then select AI Receptionist from the left-hand menu.
Configure the Welcome Message
This is the first message your callers will hear when the AI Receptionist picks up. Enter a short, friendly greeting that tells the caller to say the name of the department or reason for their call. For example: 'Hello, thank you for calling. Please say the name of the department you need, such as Sales, Support, or Accounts.'
The caller does not need to press any buttons. They simply speak their request and the system matches it to one of your configured departments.
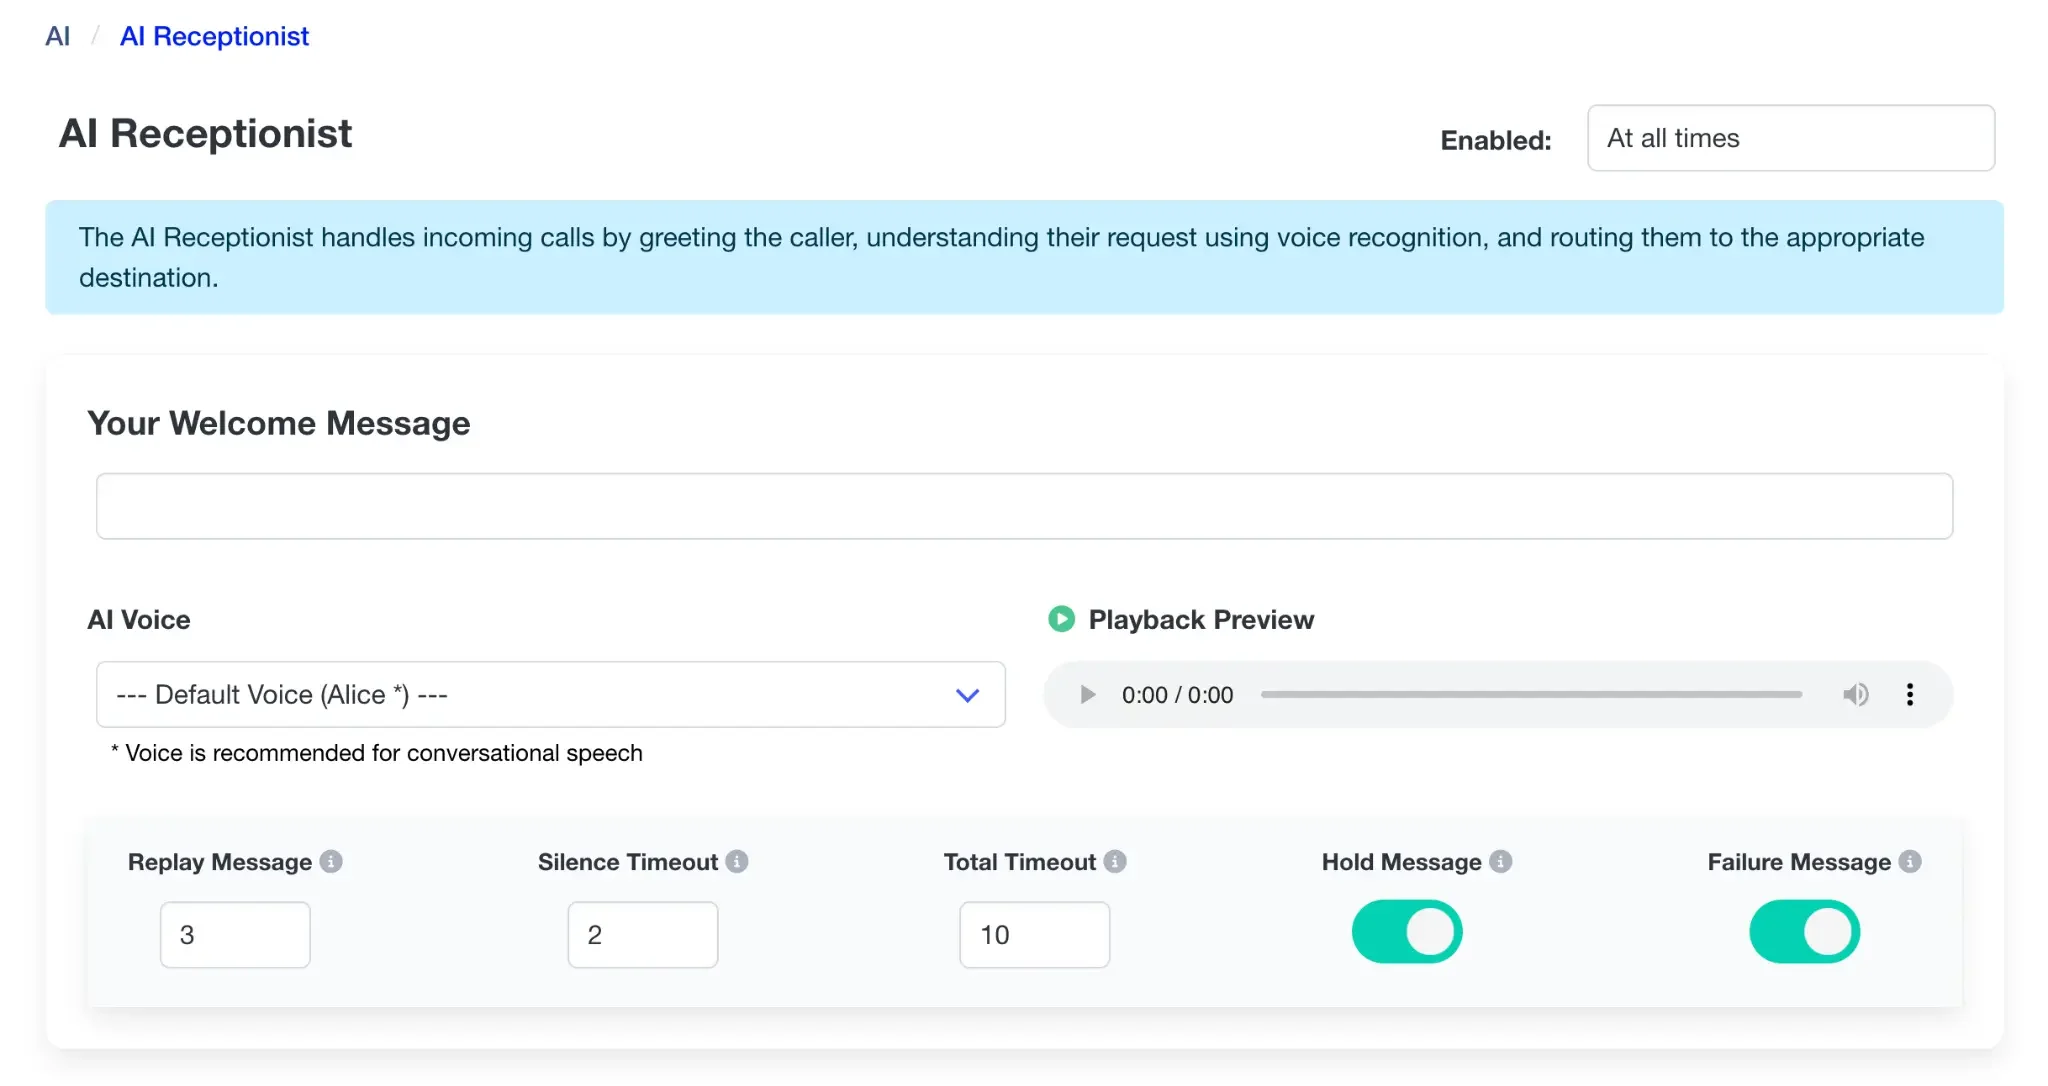
You can also configure the following settings in this section:
- AI Voice: Choose the voice and language for the receptionist.
- Replay Message: The number of times a message will be replayed if the caller is silent.
- Silence Timeout: The seconds of silence to wait before replaying a message.
- Total Timeout: The total seconds of silence before the call is ended or routed to the default.
- Hold/Failure Message: Toggle on or off messages for hold and call failure scenarios.
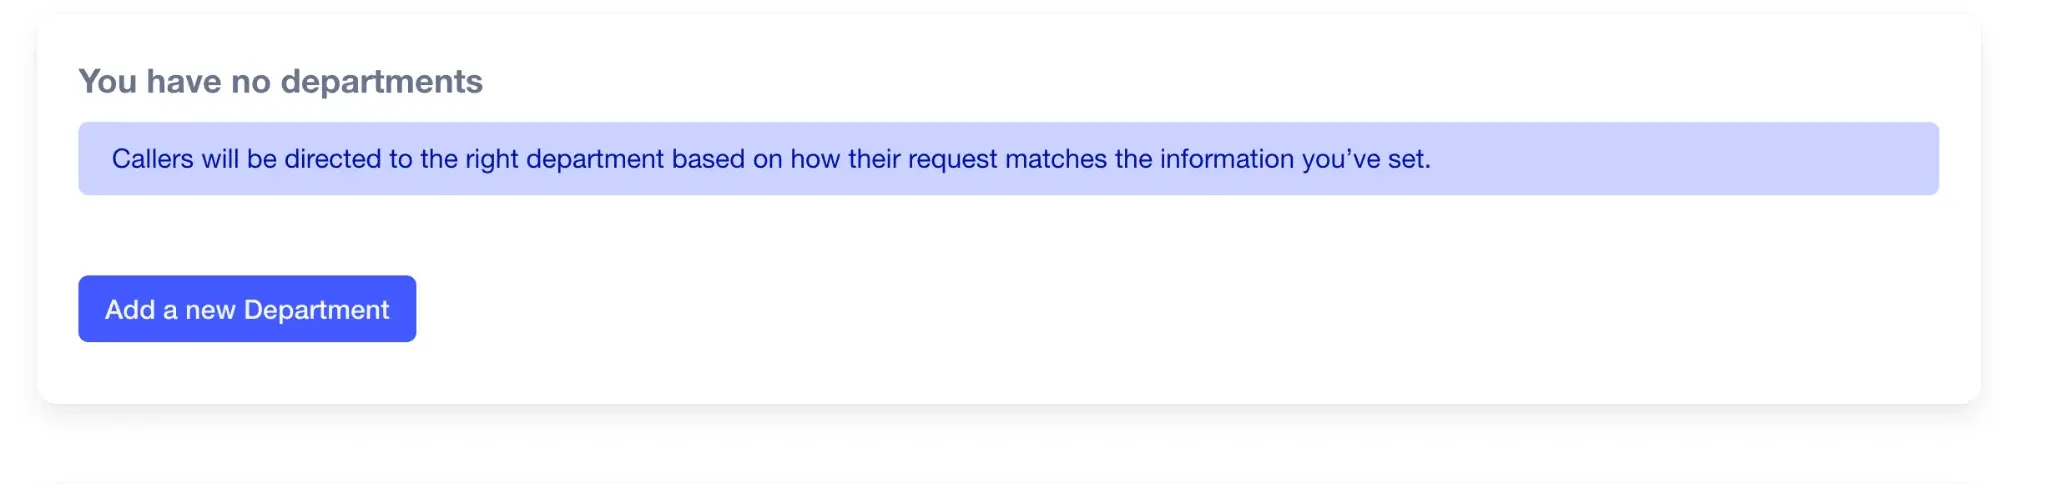
Add Departments
Departments are the core of the AI Receptionist. When a caller speaks their request, the AI compares what they said against each department's description and routes the call to the best match. Think of each department as equivalent to one option on a traditional auto attendant menu — except the caller says what they need rather than pressing a number.
Click the Add a new Department button to get started. You can add as many departments as you need — for example, Sales, Support, Accounts, and Reception.
Create a New Department
Fill in the details for your new department:
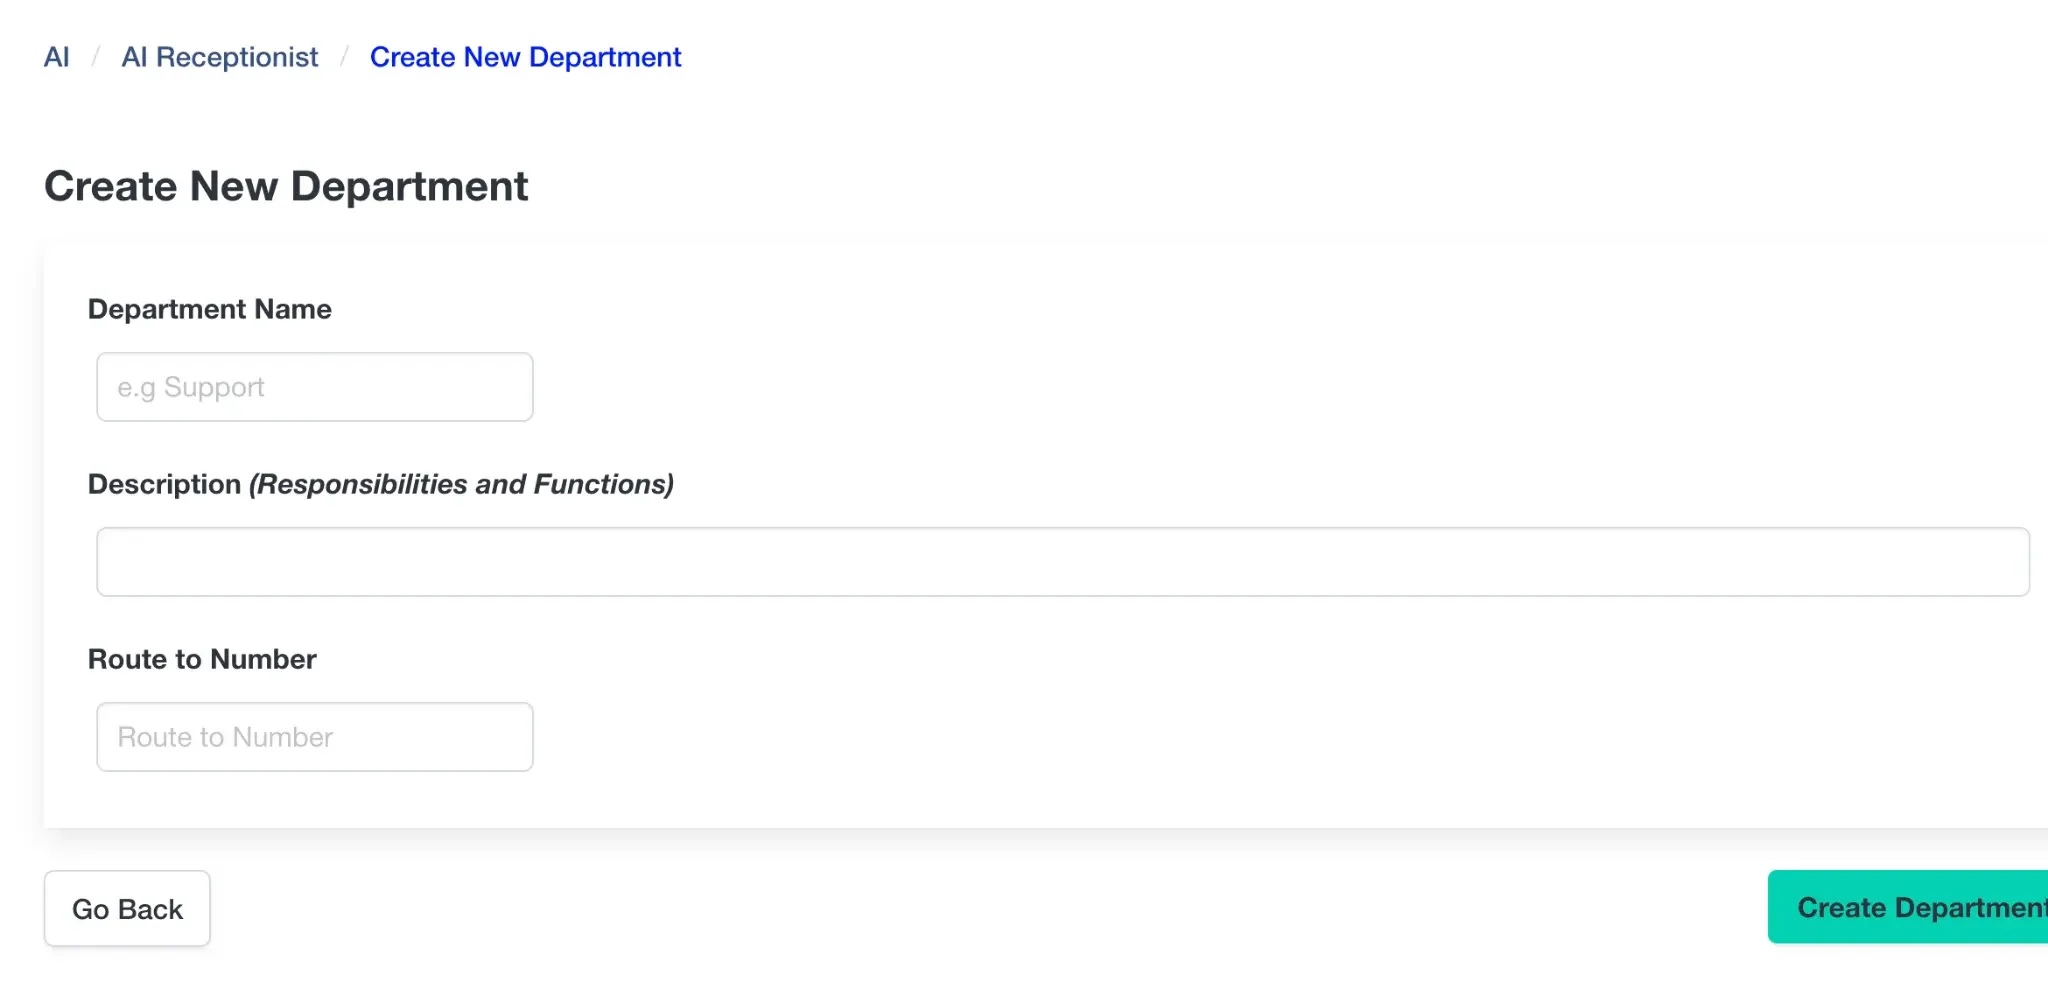
- Department Name: A friendly name, e.g., 'Sales' or 'Support'.
- Description: This is the most important field. Write a clear description of what this department handles and include the words or phrases a caller might say when they want to reach it. For example, for a Sales department you might write: 'Sales, new enquiries, quotes, pricing, buying, purchasing, products'. The AI matches the caller's spoken words against this description to decide where to route the call. The more relevant keywords you include, the more accurately calls will be routed.
- Route to Number: The phone number or extension where calls for this department should be sent.
Configure Call Flow Settings
Finally, define how calls get to the AI Receptionist and what happens if a department can't be identified.
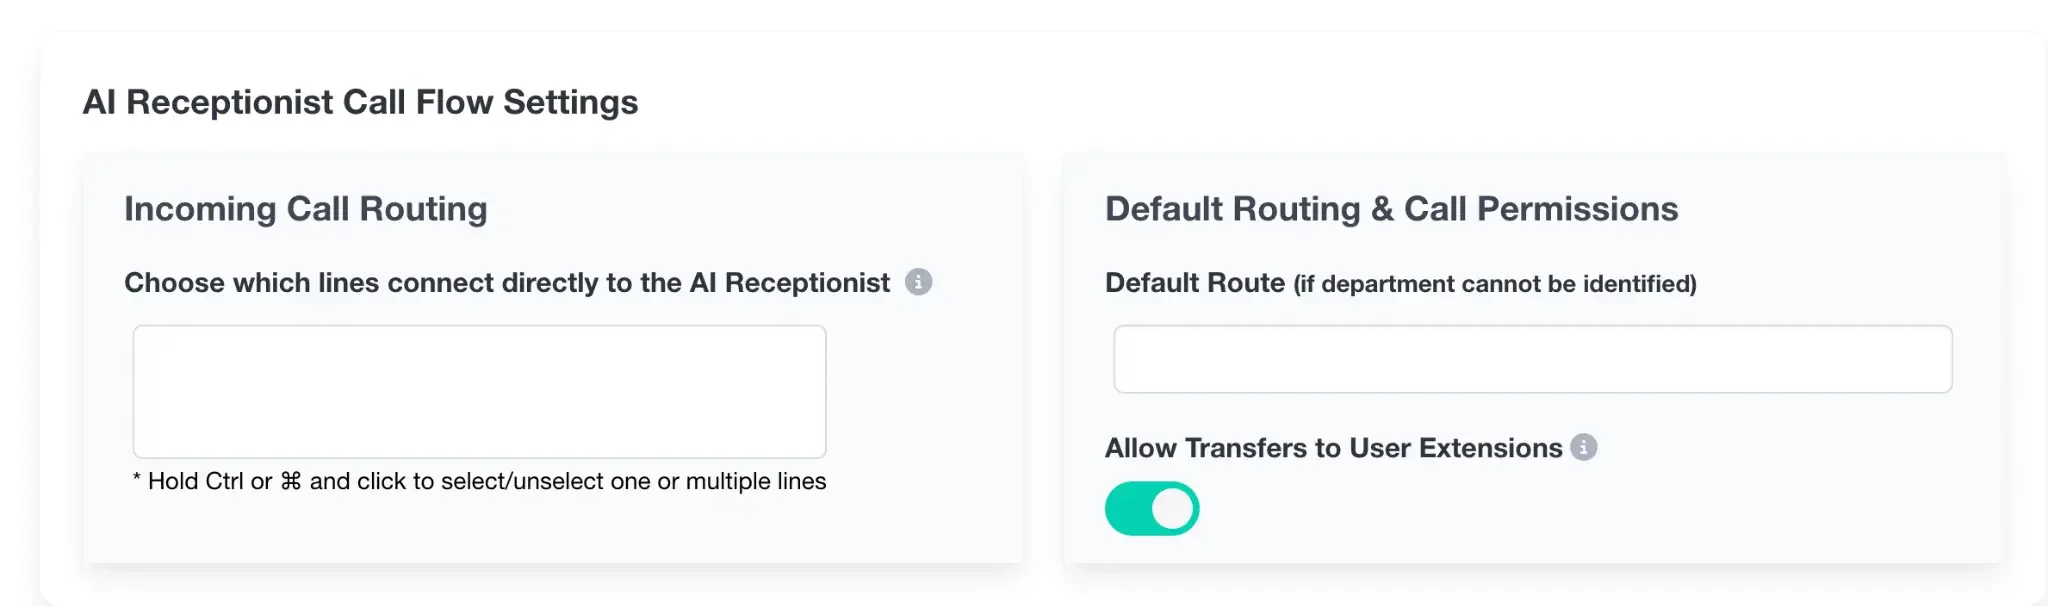
- Incoming Call Routing: Select which of your main business numbers should be answered by the AI Receptionist.
- Default Route: Set a fallback number where the call will be sent if the AI cannot determine the correct department from the caller's request.
- Allow Transfers to User Extensions: Toggle whether callers can be transferred directly to a user's extension.
Test the AI Receptionist
Call one of the numbers you assigned to the AI Receptionist from an external phone. When prompted, say the name of a department or a phrase a real caller might use — for example, 'I'd like to speak to someone about a quote' or just 'Sales'. Confirm that the call transfers to the correct destination. Test each department you have configured. If a call routes incorrectly, update the department description to include more specific keywords.
Still need help?
Our Australian support team is available to assist you.